Homemade Granola Bars
2024-09-02 09:22:18 -0700 PDT
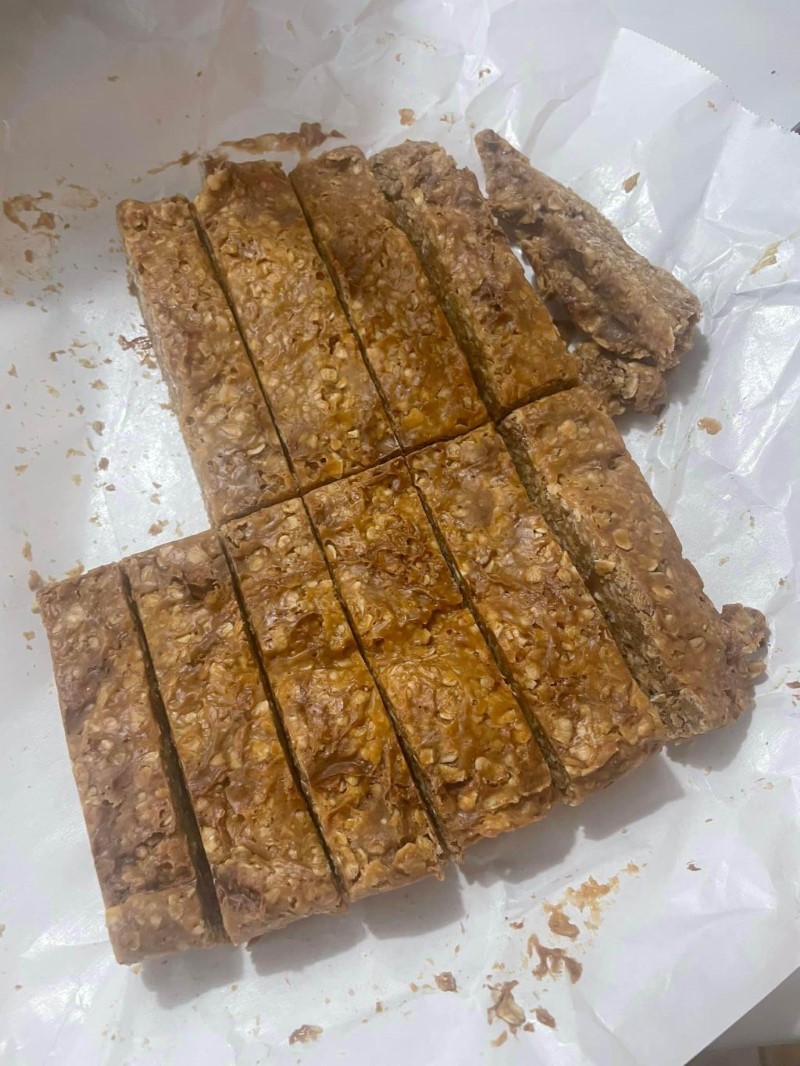
Homemade Granola Bars
Granola bars store bought are just too expensive nowadays! But don’t break your wallet and make them at home! You also know what is going into your granola bars, you could add a vast array of items to make it even more nutritious.
Granola Bar Recipe Tips:
Use runny nut butter. Look for natural cashew or peanut butter with a smooth consistency to make this recipe, not the dry, stiff stuff that you might find at the bottom of a jar. If your nut butter is too dry or thick, it won’t bind the oats, chocolate chips, and nuts or seeds into cohesive bars. Use creamy nut butter, not crunchy.
Don’t cut the chilling time short. It’s tempting to slice and eat these bars as soon as you press the oat mixture into the pan, but in order for them to be chewy and cohesive, they really need to chill. Pop the pan in the fridge for at least one hour before slicing and eating the bars.
Store them in the fridge or freezer. Once you slice the bars, cover the pan and store it in the fridge, or transfer the bars to an airtight container. They’ll keep for up to a week in the fridge, but you can also freeze them for up to 2 months.
For this you’ll need
- 1 cup very smooth creamy natural peanut butter , or cashew butter
- ⅔ cup honey
- 1 teaspoon vanilla extract
- Heaping ½ teaspoon sea salt
- 2½ cups whole rolled oats
- ⅓ cup mini chocolate chips* (you can also use the large ones just chop them up)
- 3 tablespoons pepitas, or crushed peanuts or cashews (optional)
Instructions:
- Line an 8x8 baking pan with parchment paper.
- In a large bowl, stir together the peanut butter, honey, vanilla, and salt, until smooth. Add the oats, chocolate chips and the pepitas (or nuts). The mixture might seem dry at first, but keep stirring and it’ll come together. Stir to combine and press firmly into the pan. Use a second piece of parchment paper and the back of a measuring cup to help flatten the mixture. Chill for at least 1 hour, then slice into bars.
- Store bars in the fridge.
Juliée Yellow Tomatoes
2024-08-18 18:20:00 -0700 PDT
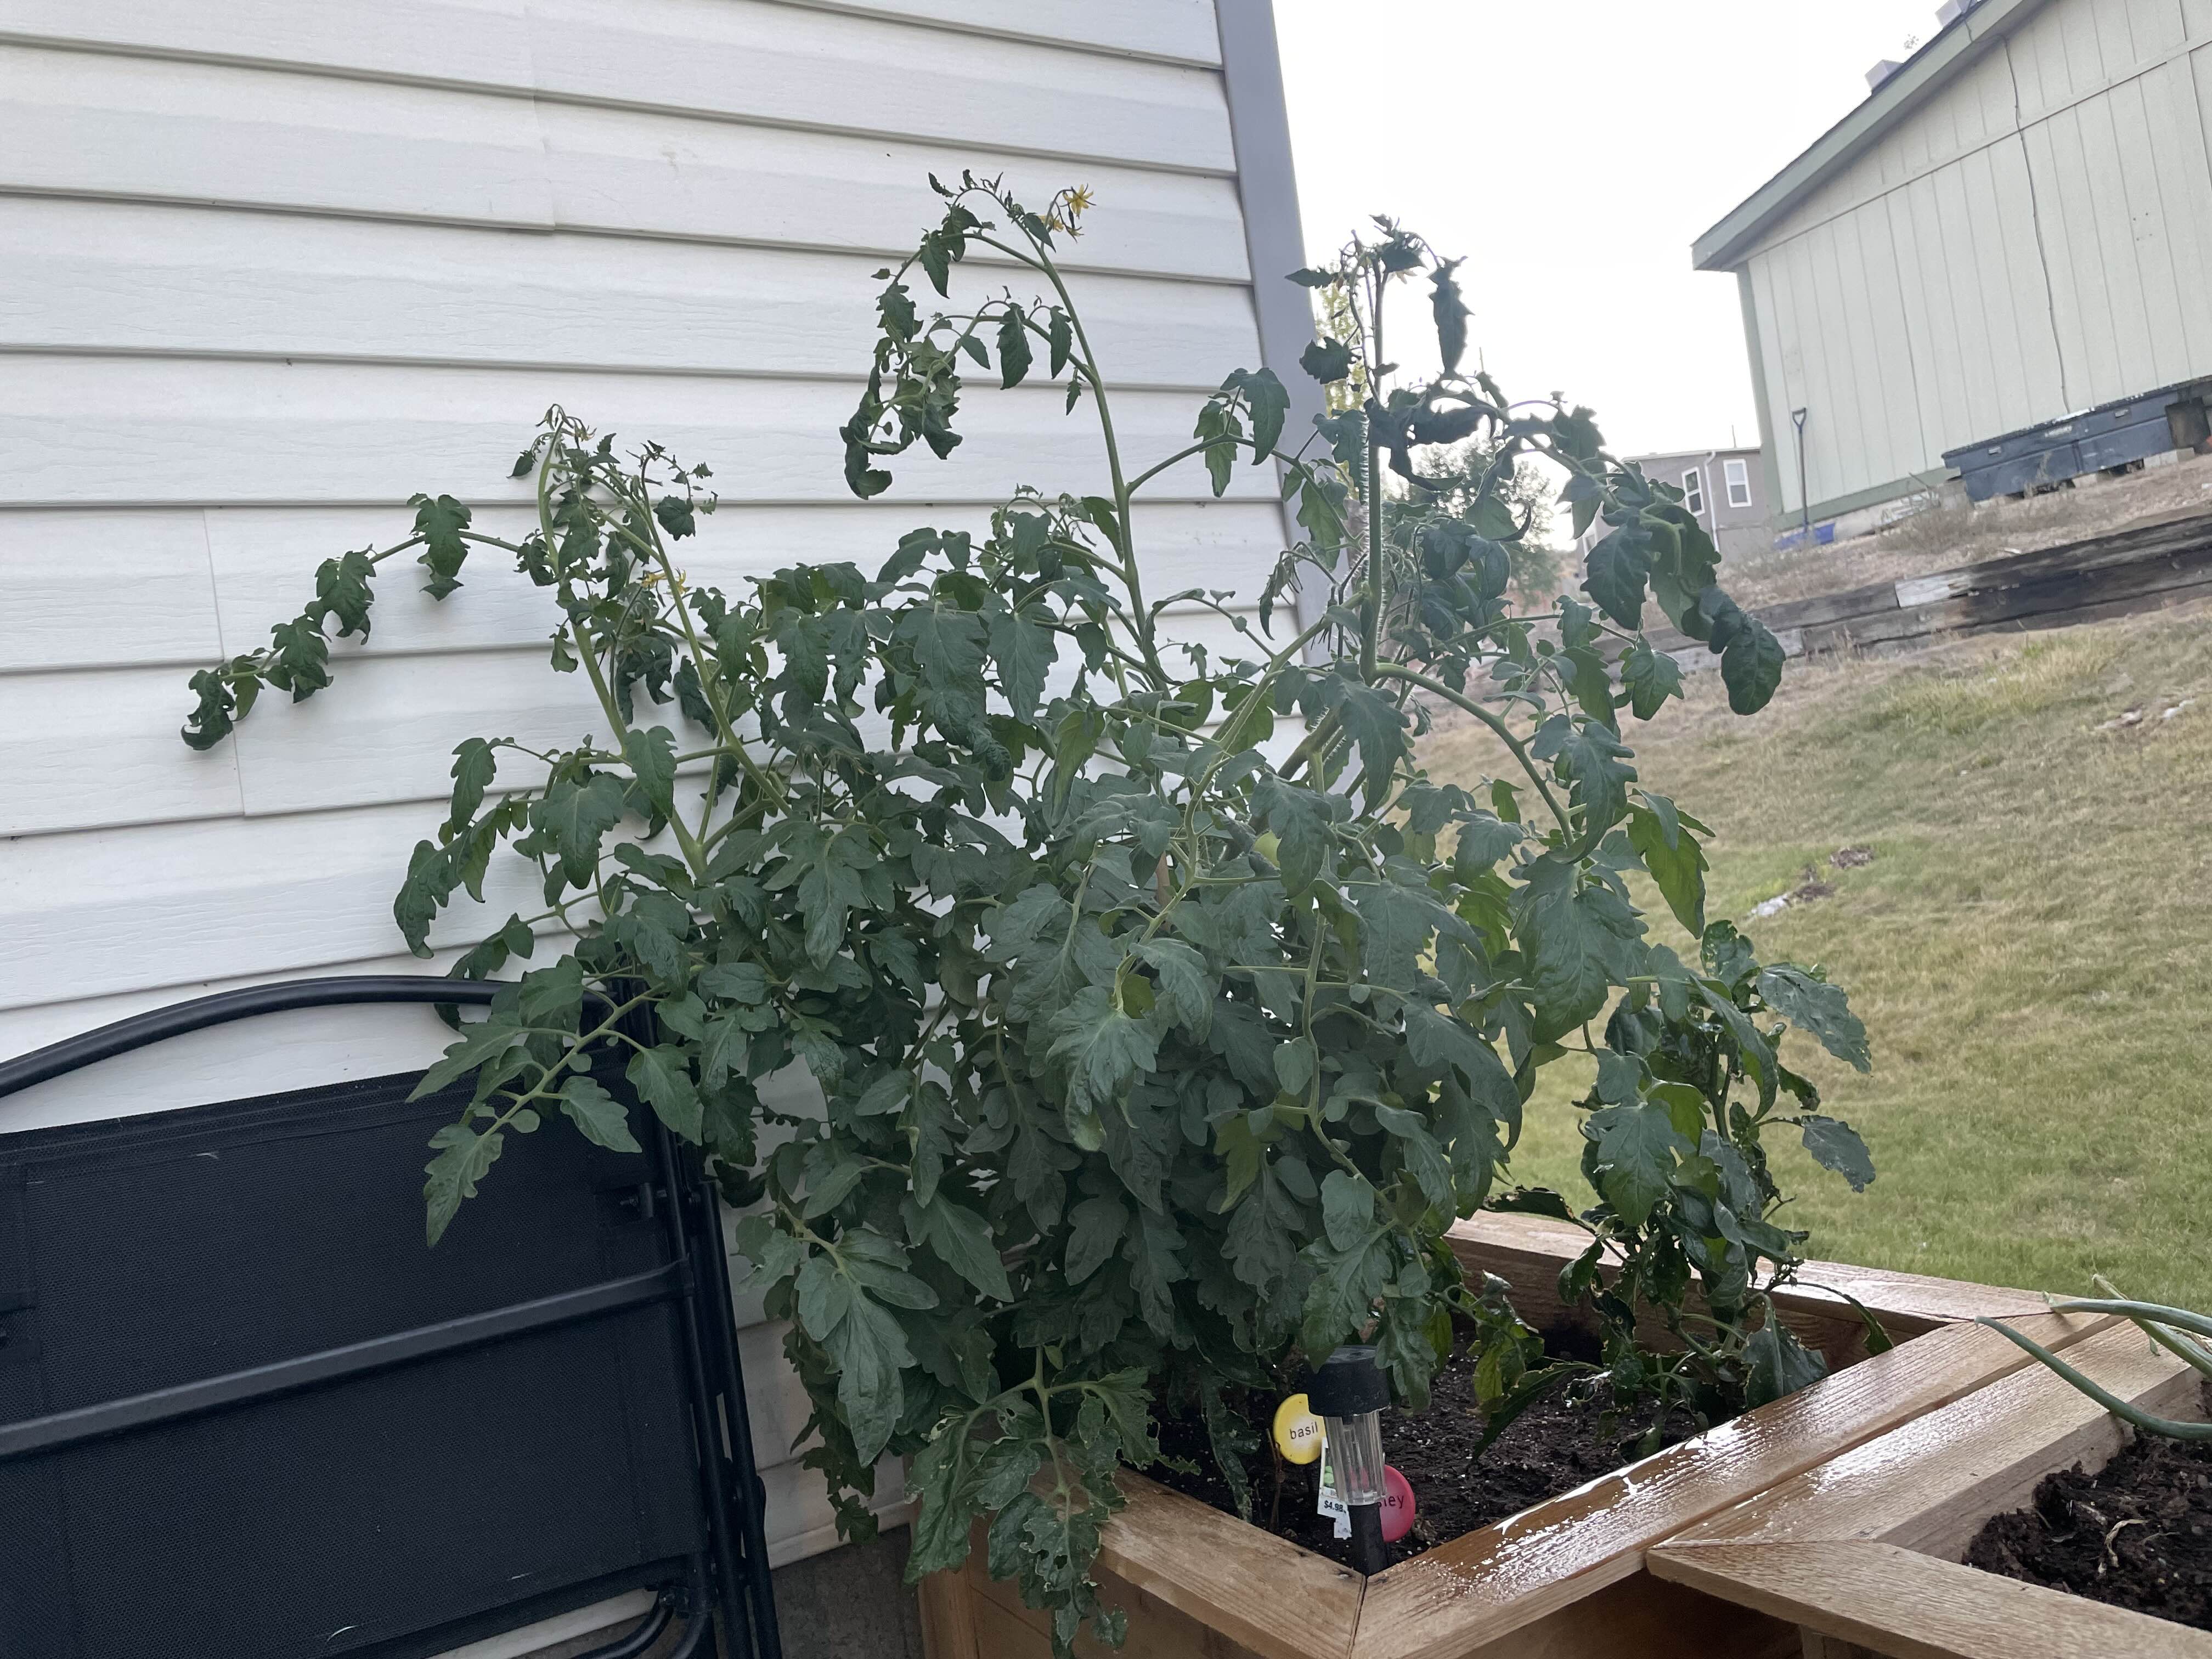
The Sweet Scoop on Growing Juliée Yellow Tomatoes!
Are you ready to grow some of the most adorable, sun-kissed tomatoes this side of the garden? Look no further than the Juliée Yellow Tomato! These petite beauties are sure to steal your heart with their bright yellow hue and juicy sweetness. But, as with any lovable plant, they require a little TLC to thrive. So, grab your gardening gloves and let’s dive into the world of Juliée Yellow Tomatoes!
The Essential Elements: Water, Fertilizer, Soil, and Sun
To grow these lovely tomatoes, you’ll want to make sure you’re providing them with:
- Plenty of Water: Juliée Yellow Tomatoes need consistent moisture to produce a bountiful harvest. Aim for at least 1 inch of water per week, either from rain or irrigation.
- A Well-Rounded Fertilizer: Feed your tomatoes with a balanced fertilizer that’s specifically formulated for fruiting plants (more on this below!). A general-purpose fertilizer will do the trick, but if you want to get fancy, try adding some calcium and magnesium-rich supplements to boost flavor and texture.
- The Right Soil: Tomatoes love well-draining, fertile soil with a pH between 6.0 and 7.0. If your soil is lacking in this department, consider amending it with compost or a mix specifically designed for tomatoes.
Our Top Picks for Tomato-Friendly Fertilizers and Soils:
- Miracle-Gro Shake ’n Feed All Purpose Plant Food: This all-around superstar will provide your tomatoes with the necessary nutrients to thrive.
- Espoma Organic Tomato Tone: For those looking for an organic option, this fertilizer is made from natural ingredients and is specifically formulated to promote healthy tomato growth.
- E.B. Stone Organics Garden Soil: This premium potting mix is perfect for containers or in-ground gardens, providing excellent drainage and aeration for your tomatoes.
Staking Your Claim: Keeping Tomatoes Upright
As your Juliée Yellow Tomatoes grow, they’ll need support to prevent them from toppling over. Use tomato stakes or cages to keep them upright and encourage bushy growth. This will also help promote better air circulation, reducing the risk of fungal diseases.
Pruning for Perfection: Tips and Tricks
To ensure a bountiful harvest, prune your Juliée Yellow Tomatoes regularly:
- Remove Lower Leaves: Take off any leaves that are touching the soil to prevent disease and encourage healthy growth.
- Cut Back Suckers: Remove any suckers (shoots growing between the main stem and a branch) to direct energy toward fruit production.
- Thin Fruits: Select the strongest, most viable fruits to allow for proper ripening and maximize yield.
With these tips and tricks, you’ll be well on your way to growing the most delicious, Juliée Yellow Tomatoes this side of the garden! Happy gardening, and remember to share those sweet treats with friends and family!
Growing Spuds
2024-08-16 18:02:03 -0700 PDT
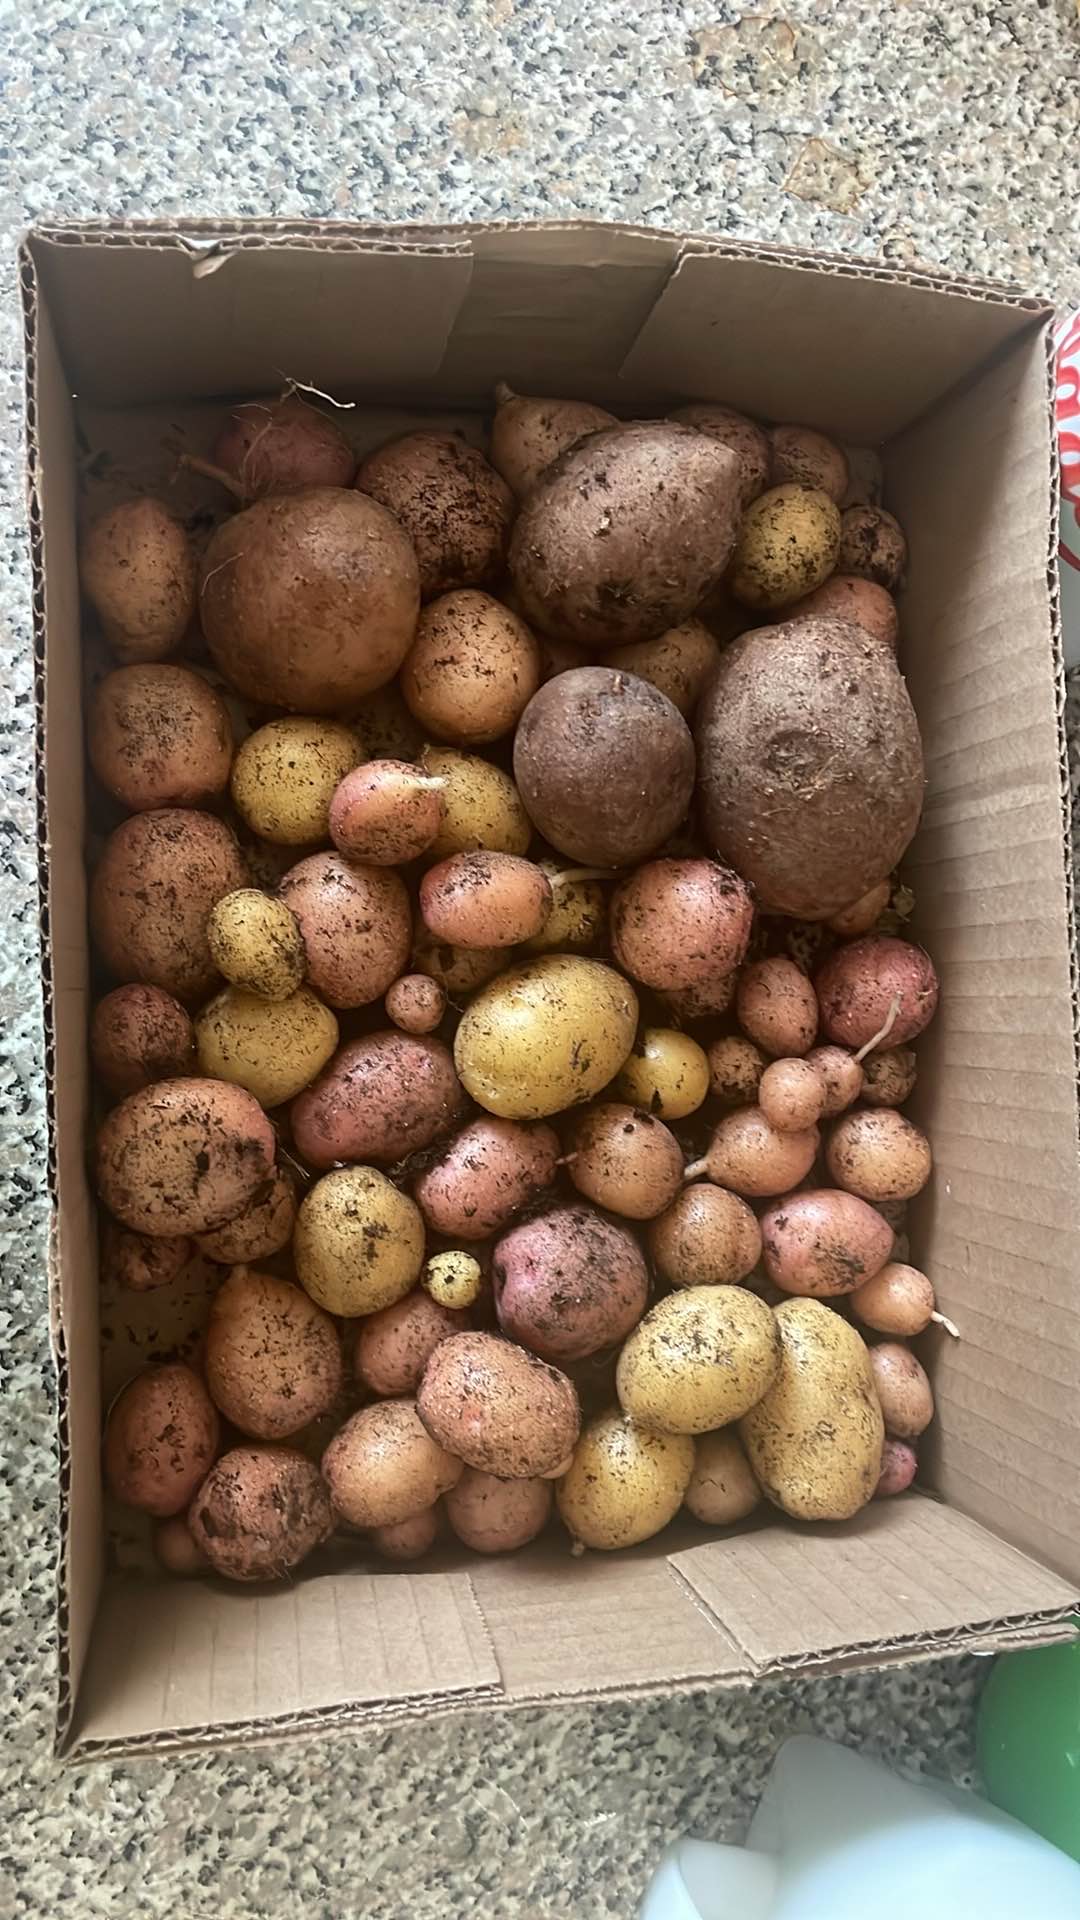
The Spud-tacular Guide to Growing Potatoes: Harnessing the Power of Fertilizers
Ah, the humble potato. A staple crop in many cultures around the world, yet often overlooked as a challenge for home gardeners. Not so today! With the right knowledge and some simple tips, you can enjoy a bountiful harvest of delicious, homegrown potatoes.
In this article, we’ll focus on how to grow potatoes effectively, with a special emphasis on using a good fertilizer rich in potassium and phosphorus – two essential macronutrients for optimal tuber production.
Choosing the Right Variety
Before we dive into growing tips, it’s essential to select a potato variety that suits your climate and preferences. There are several types of potatoes:
- Russet: These high-yielding varieties have brown skin and white flesh.
- White: These potatoes have thin, smooth skin and white flesh, perfect for boiling or mashing.
- Red: These colorful tubers have red skin and yellow flesh.
Some popular potato varieties include ‘Russet Burbank’, ‘Shepody’, and ‘Yukon Gold’. Research the specific growing requirements and disease resistance of your chosen variety to ensure success.
Growing Potatoes: A Step-by-Step Guide
- Prepare Your Soil: Potatoes prefer well-draining, loose soil with a pH between 4.5 and 7.0.
- Chit the Tubers (Optional): Before planting, ‘chit’ your seed potatoes by placing them in a light-filled area or covering them with a cloth to encourage sprouting.
- Plant Seed Potatoes: Plant seed potatoes about 12 inches apart and 4-6 inches deep, with the ’eyes’ facing upwards.
- Mulch and Water: Keep the soil consistently moist and cover it with a layer of organic mulch (such as straw or wood chips) to retain moisture and suppress weeds.
The Power of Potassium and Phosphorus: Essential Fertilizers for Potato Growth
Potatoes require adequate potassium (K) and phosphorus (P) to produce high-quality tubers. These nutrients play critical roles:
-
Potassium: Involved in photosynthesis, potassium helps promote healthy plant growth and resistance to disease.
-
Phosphorus: Important for root development, phosphorus supports the production of new roots and tubers.
A well-balanced fertilizer with a potassium-rich formula (e.g., 10-20-10 NPK) will provide your potatoes with the necessary nutrients. When choosing a fertilizer:
- Look for products containing both potassium and phosphorus.
- Select a balanced NPK ratio, ideally between 10:10:10 or 15:15:15.
Some excellent fertilizers that contain high levels of potassium and phosphorus include:
-
Miracle-Gro Shake ’n Feed All Purpose Plant Food: A 20-10-10 NPK fertilizer with added micronutrients.
-
Espoma Organic Potassium Fertilizer: An organic, 5-0-0 K formula for boosting tuber growth.
Conclusion
Growing potatoes can be a rewarding experience when done correctly. By selecting the right variety and using a good fertilizer rich in potassium and phosphorus, you’ll set yourself up for success. Don’t forget to follow proper growing tips and care for your potato plants throughout their life cycle. Happy gardening!